Why Responsive Design Matters in 2026
Over 60% of web traffic now comes from mobile devices. If your website doesn't look and function well on every screen size, you're losing more than half your potential audience before they even read a word. Google also uses mobile-first indexing, meaning it primarily evaluates the mobile version of your site for search rankings — a poorly responsive site gets penalized in search results.
Framer handles responsive design through a breakpoint system that lets you customize your layout for different screen sizes. Unlike CSS media queries that you write by hand, Framer's breakpoints are visual — you design each screen size directly in the editor and see exactly how it looks.
This guide covers everything you need to know about Framer's breakpoint system, from the basics of how breakpoints work to advanced techniques for building layouts that adapt seamlessly across devices.
How Framer Breakpoints Work
Framer uses a desktop-first approach to responsive design. You start by designing for the largest screen size, then progressively adjust the layout for smaller breakpoints. Changes made at a smaller breakpoint only affect that breakpoint and below — they don't cascade upward to larger screens.
The default breakpoints in Framer are:
Desktop — 1200px and above. This is your primary design canvas and where you do most of your layout work.
Tablet — 810px to 1199px. Covers iPad and similar tablet devices in both portrait and landscape orientations.
Mobile — 390px to 809px. Covers smartphones. The 390px default matches the iPhone 14/15 viewport width.
You can also add custom breakpoints if your design needs them. Some designers add a large desktop breakpoint (1440px+) for wide monitors or a small mobile breakpoint (320px) for older devices.
The Breakpoint Workflow
Step 1: Design Desktop First
Build your complete layout at the desktop breakpoint. Get the structure, spacing, typography, colors, and content finalized. Don't think about mobile yet — focus on creating the best possible desktop experience.
Step 2: Switch to Tablet
Click the tablet breakpoint in Framer's top toolbar. Your desktop design appears, but now you can see how it looks at tablet width. Most layouts need only minor adjustments here — reduce grid columns from three to two, slightly decrease font sizes for large headings, and adjust padding if elements feel cramped.
Step 3: Adjust for Mobile
Switch to the mobile breakpoint. This is where the biggest changes happen. Multi-column grids collapse to single columns, horizontal layouts switch to vertical stacks, navigation menus convert to hamburger menus, and large hero text scales down significantly.
Step 4: Preview and Test
Use Framer's preview mode to test your responsive design. Resize the browser window to see transitions between breakpoints, and test on actual devices if possible. Pay special attention to the transition points — the viewport widths where the design switches from one breakpoint to another.
Auto-Layout: Your Responsive Foundation
The most important responsive design tool in Framer is auto-layout, which includes stack (flexbox) and grid layouts. Elements inside an auto-layout container automatically reflow based on available space.
Stack Layout (Flexbox)
Stack layouts arrange child elements in a row (horizontal) or column (vertical). The key responsive properties are direction (row vs column), wrap (whether items wrap to the next line), gap (spacing between items), and alignment.
A common responsive pattern is a horizontal stack with wrap enabled. On desktop, three cards sit side by side in a row. As the viewport shrinks, the cards automatically wrap — the third card drops below the first two on tablet, and all three stack vertically on mobile. You don't need to change anything per breakpoint — the wrapping behavior handles it.
When automatic wrapping doesn't produce the exact layout you want, you can override the stack direction per breakpoint. Set a row layout on desktop and explicitly switch to a column layout on mobile. This gives you precise control while still benefiting from auto-layout's spacing and alignment features.
Grid Layout
Grid layouts divide space into rows and columns. For responsive design, the key property is the number of columns. Set three columns on desktop, two on tablet, and one on mobile. Items automatically fill the grid cells in order.
Framer's grid also supports auto-fill and auto-fit behaviors, where columns are generated based on a minimum width rather than a fixed count. Set a minimum column width of 300px, and Framer automatically calculates how many columns fit the current viewport — no breakpoint overrides needed.
Typography Across Breakpoints
Text that looks perfect on a 27-inch monitor can feel absurdly large on a phone screen. Scaling typography across breakpoints is one of the most important (and most commonly neglected) parts of responsive design.
A general rule: headings need significant scaling, body text needs minimal scaling. A 64px H1 on desktop might drop to 48px on tablet and 36px on mobile. But body text at 18px on desktop usually only needs to drop to 16px on mobile — smaller than that becomes hard to read.
In Framer, you can set font size overrides at each breakpoint. Select a text element, switch to the tablet breakpoint, and change the font size — the new size applies only at that breakpoint and below.
If you're using text styles (which you should be for consistency), note that text style overrides apply globally. If you change a text style's font size at the mobile breakpoint, every element using that style will reflect the change on mobile. This is powerful for maintaining consistency but means you need to plan your text styles with responsive behavior in mind.
Images and Media
Images need to be responsive too. Framer handles basic image responsiveness automatically — images inside auto-layout containers scale with their parent. But there are additional considerations.
Aspect ratio consistency: Set a fixed aspect ratio on image containers to prevent layout shifts as images load. A 16:9 ratio works well for hero images, while 1:1 (square) or 4:3 works better for cards and thumbnails.
Object fit: Use the "cover" object fit for images inside fixed-ratio containers. This ensures the image fills the container completely without distortion, cropping from the center if the aspect ratios don't match exactly.
Hiding images on mobile: Sometimes a decorative image that enhances the desktop experience just takes up precious space on mobile. You can set an element's visibility to hidden at the mobile breakpoint to remove it without deleting it from the design.
Navigation Patterns
Navigation is one of the trickiest responsive challenges. A horizontal nav bar with five or six links works beautifully on desktop but breaks on mobile. Here are the most common patterns:
Hamburger menu: The standard approach — replace the horizontal nav links with a menu icon on mobile. When tapped, a full-screen or slide-in menu appears with all navigation options. In Framer, you can build this using component variants — one variant for the open state and one for closed, with an interaction that toggles between them.
Bottom navigation: For apps or mobile-first sites, a fixed bottom bar with 3-5 icon buttons. Less common for marketing sites but excellent for web apps.
Simplified navigation: Rather than hiding links behind a hamburger, reduce the number of visible links on mobile to just the most important 2-3 items, with a "More" option for the rest.
Whichever pattern you choose, test the mobile navigation thoroughly. Navigation is how visitors move through your site — if it's confusing or broken on mobile, you'll lose people fast.
Common Responsive Patterns
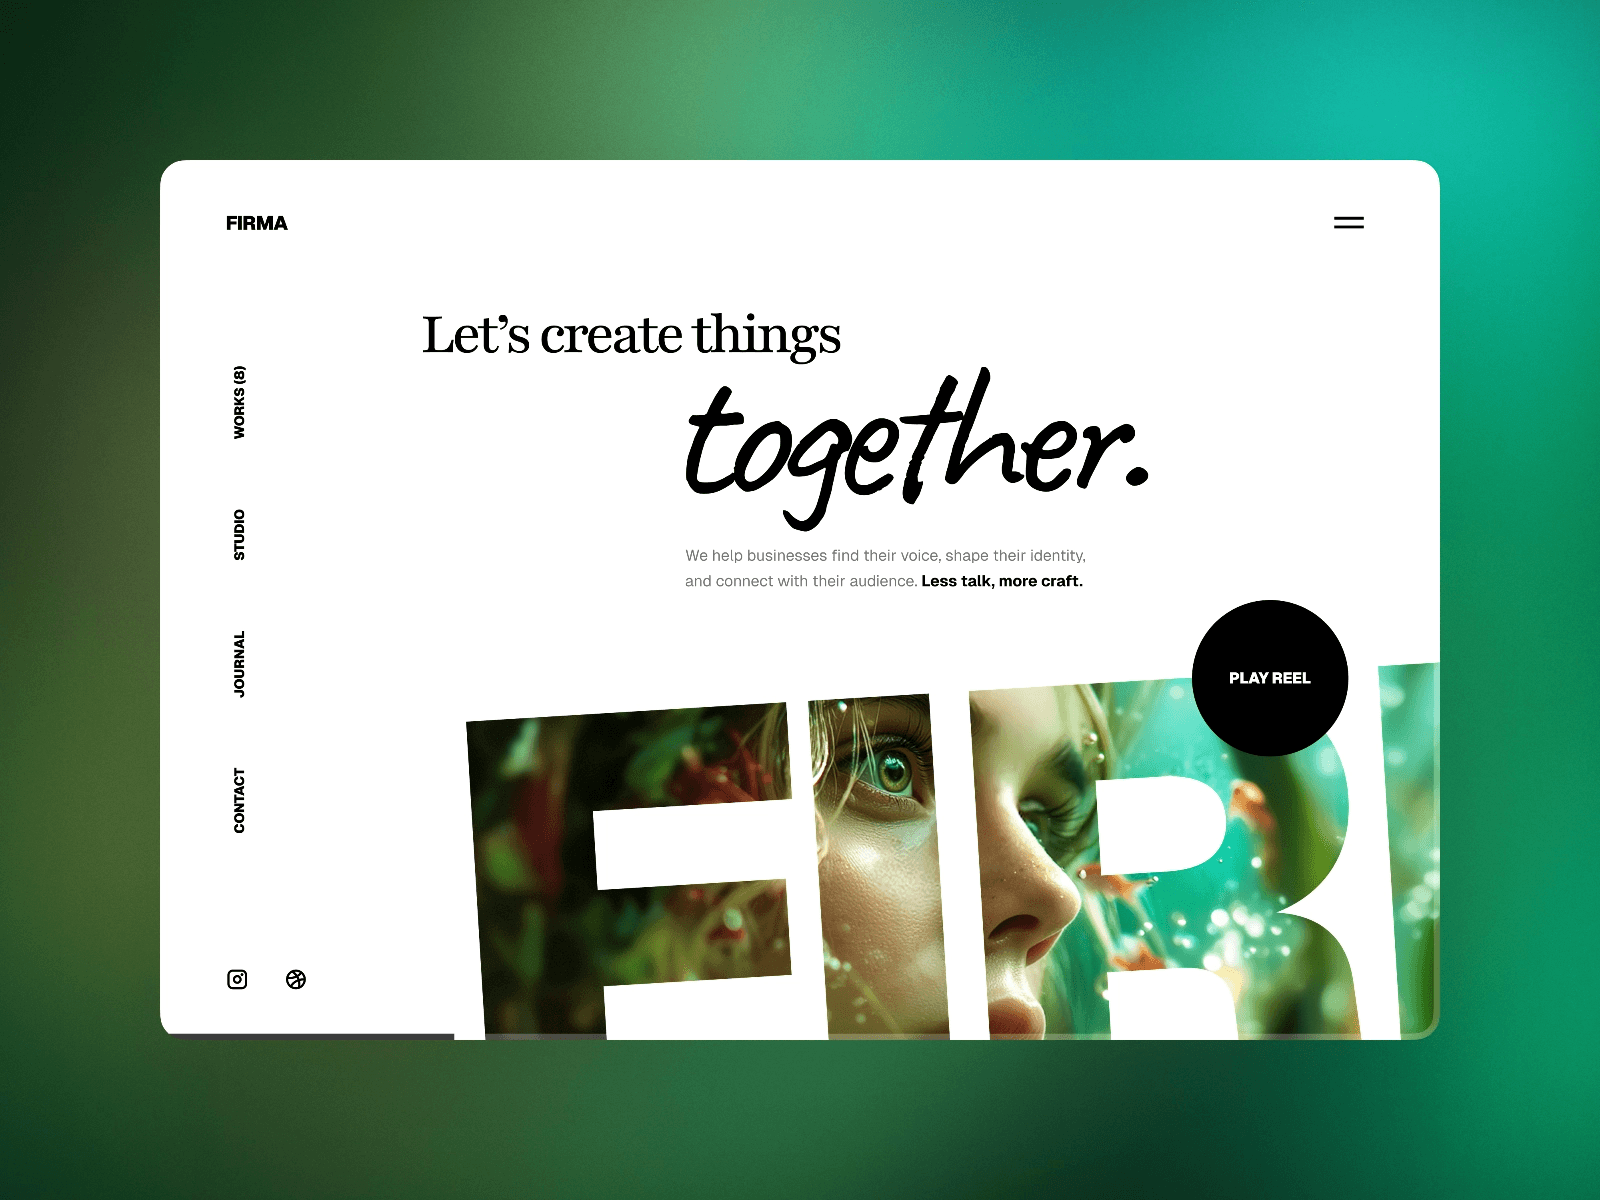
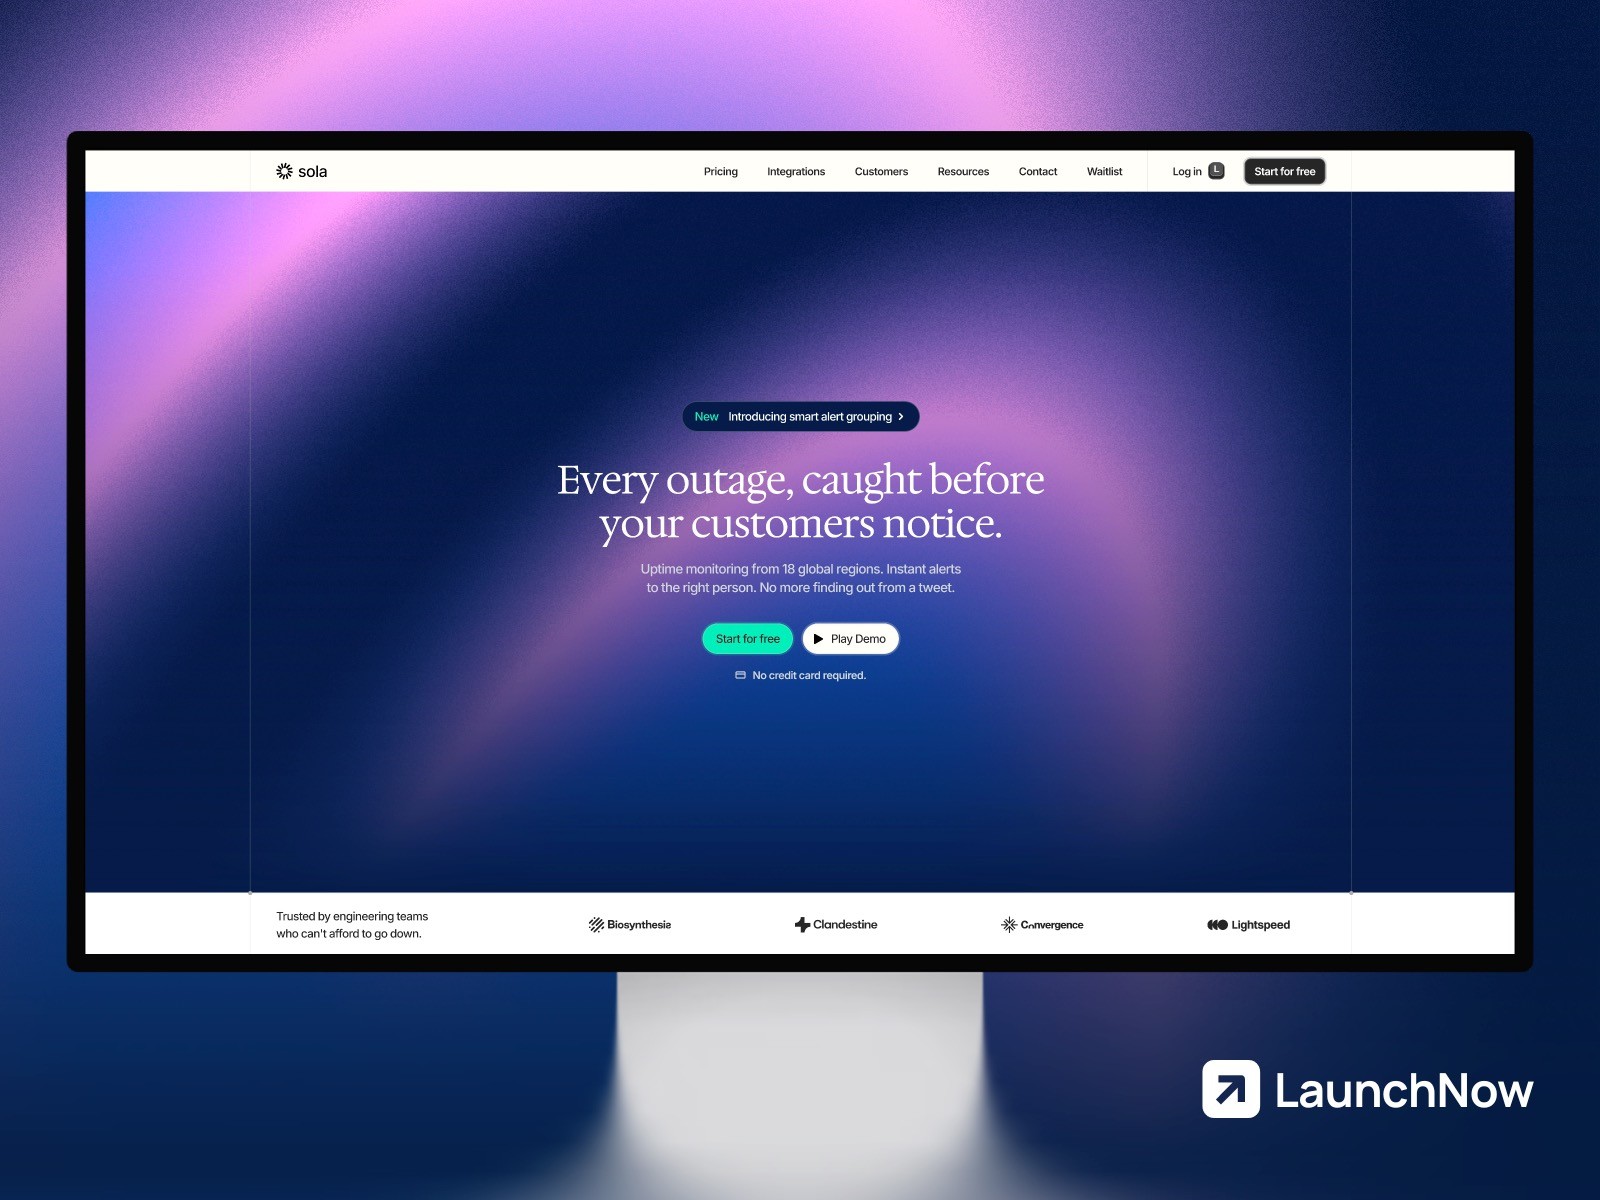
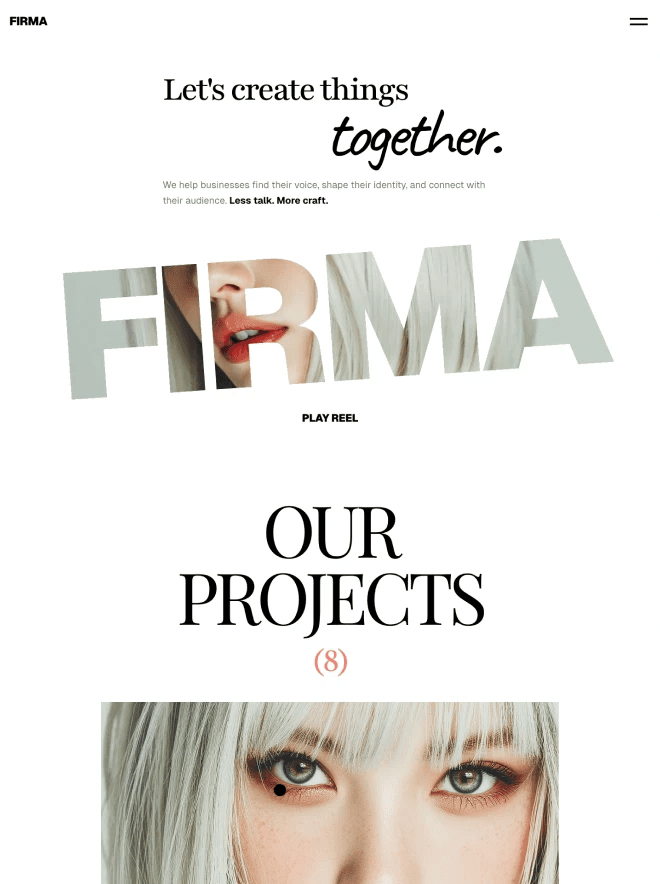
Hero Sections
Desktop hero sections often use a side-by-side layout — text on the left, image or illustration on the right. On mobile, stack these vertically with text first and the image below. Reduce the headline size significantly and consider hiding secondary elements like background decorations or secondary CTAs that clutter the mobile view.
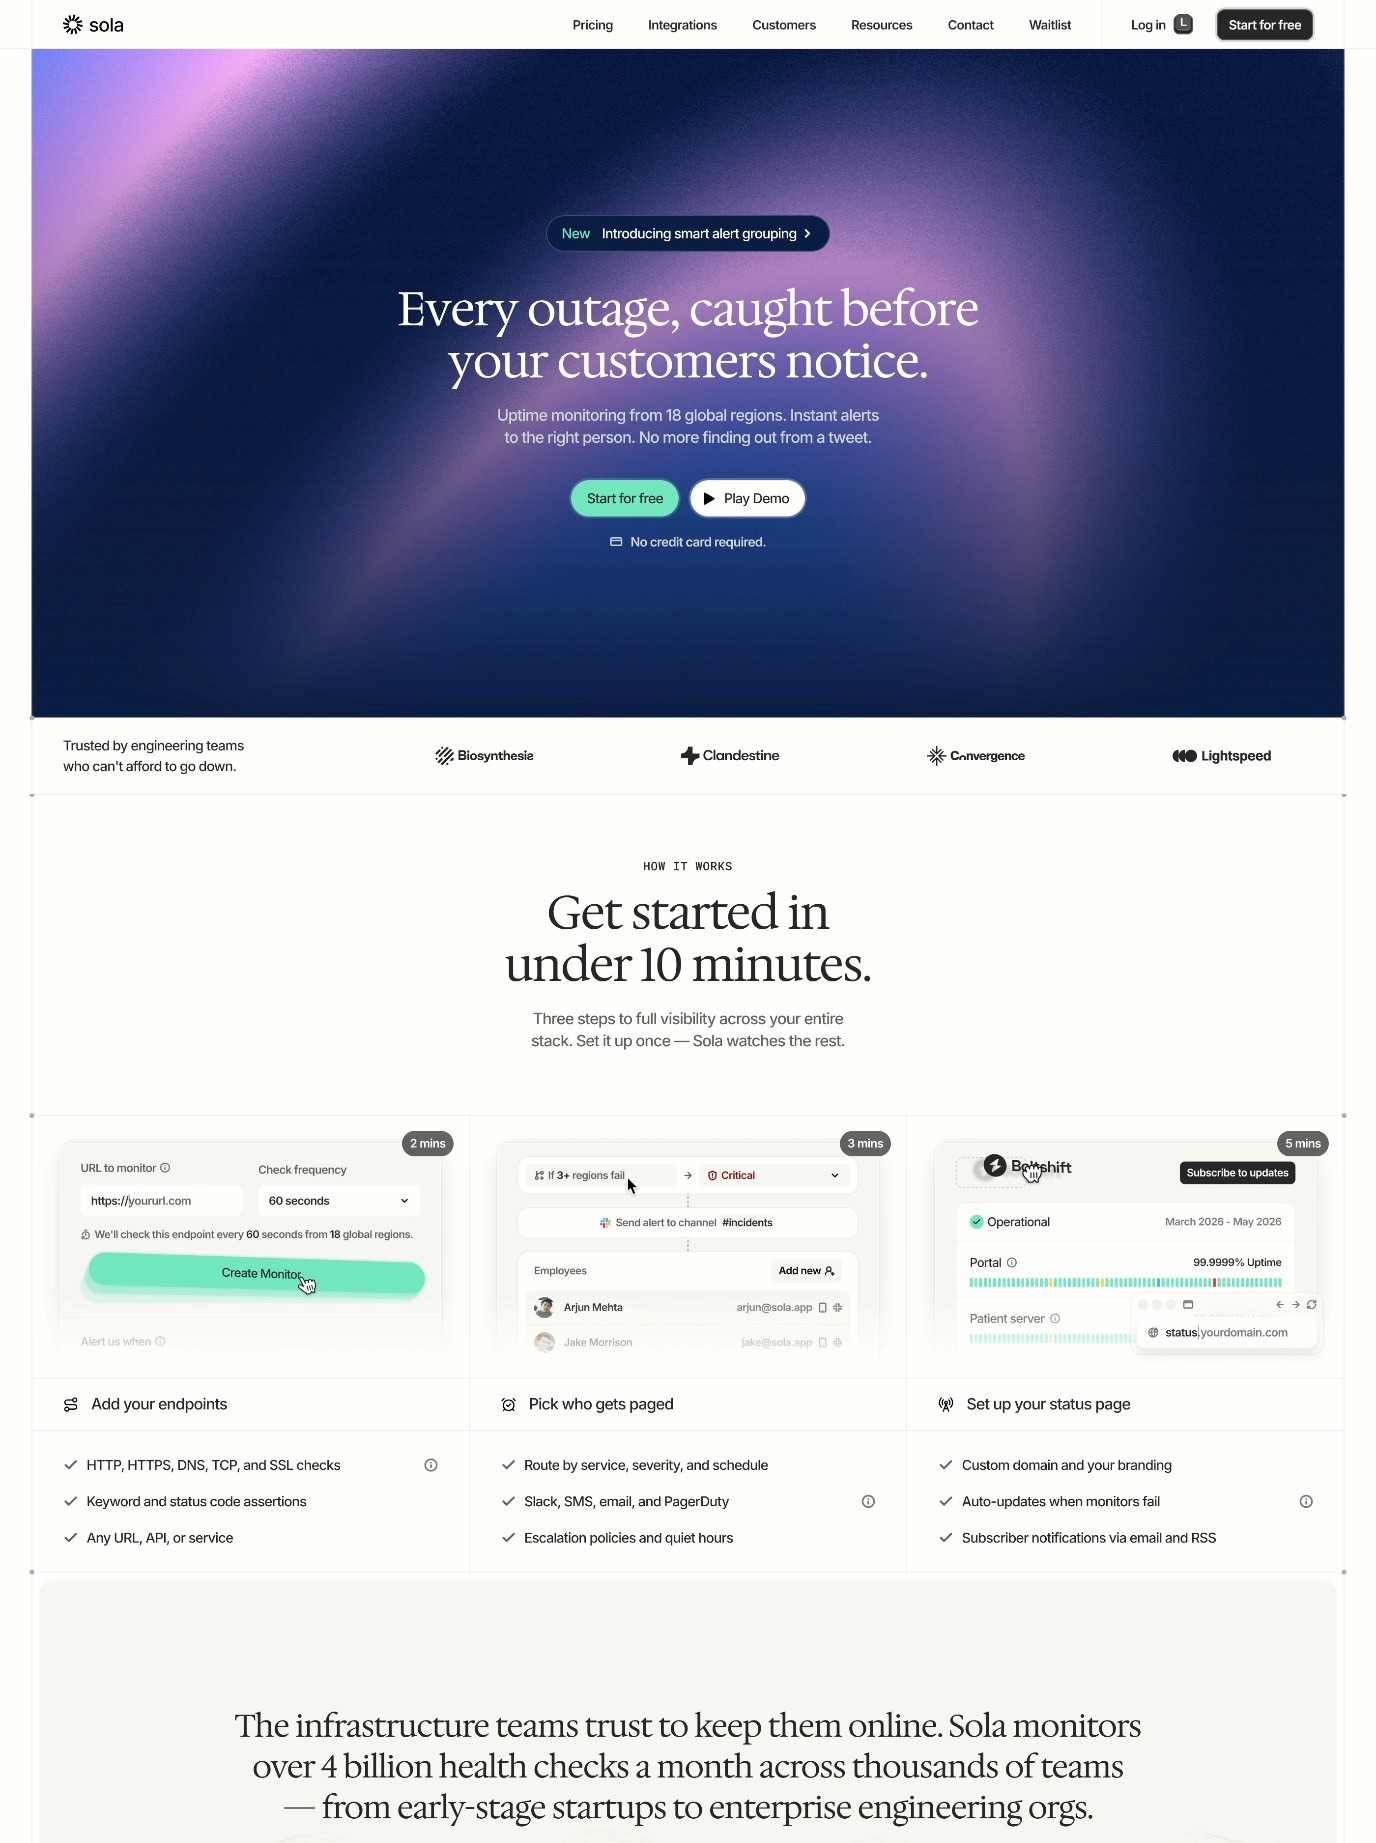
Feature Grids
Three-column feature grids on desktop become two columns on tablet and a single column on mobile. If each feature card has an icon, title, and description, the single-column mobile layout can switch to a more compact style — icon and title on one line with the description below, rather than the centered stacked layout used on desktop.
Pricing Tables
Side-by-side pricing cards work on desktop but become unwieldy on mobile, especially with three or more plans. On mobile, consider a tabbed or accordion interface that shows one plan at a time, or stack the cards vertically with the recommended plan first.
Footer
Multi-column footers with link groups collapse to a single column on mobile. Consider using accordions for footer link sections on mobile — show the section headings with expandable content underneath to keep the footer manageable.
Testing Your Responsive Design
Framer's built-in preview is a good starting point, but don't rely on it exclusively. Test your responsive design in these ways:
Browser resize: Open your published site and manually resize the browser window. Watch for awkward in-between states where elements overlap, text overflows, or spacing looks off.
Real devices: Test on an actual phone and tablet. Interactions that work with a mouse cursor (hover effects, precise clicks) behave differently with touch input. Buttons need to be large enough to tap comfortably — at least 44x44 pixels is the recommended minimum touch target size.
Chrome DevTools: Use Chrome's device toolbar (Ctrl/Cmd + Shift + M in DevTools) to simulate specific devices. This shows you how the site looks on popular phones and tablets without needing the actual hardware.
Google's Mobile-Friendly Test: Run your published URL through Google's Mobile-Friendly Test tool to check for mobile usability issues that could affect your search rankings.
For more on performance testing and optimization, our performance optimization guide covers load times, image compression, and other factors that affect the mobile experience.
Responsive Design Mistakes to Avoid
Designing only for your own device. If you design on a 1440px monitor, your site might look cramped or broken on a 1280px laptop. Always test at multiple viewport widths, not just the default breakpoints.
Ignoring landscape orientation on mobile. Many users rotate their phones. If your mobile layout breaks in landscape, you've got a problem. Test both orientations.
Making touch targets too small. Links and buttons that are easy to click with a mouse can be impossible to tap on a touchscreen. Ensure all interactive elements have adequate size and spacing on mobile.
Hiding too much content on mobile. It's tempting to hide elements to simplify the mobile layout, but mobile visitors deserve access to the same information. Rearrange and reformat content rather than removing it entirely. Hide decorative elements, not informational ones.
Not testing real content. A layout that works with placeholder text can break when you add real headlines that are longer or shorter than expected. Always test your responsive layout with actual content, including edge cases like very long titles or descriptions.
Responsive design isn't a feature you add at the end — it's a mindset that informs every design decision. Build with auto-layout from the start, think about how each section will adapt, and test frequently across breakpoints. The result is a site that feels intentionally designed for every device, not awkwardly squeezed onto smaller screens.